Tutorial
Page 8 of 9
Adding A Room
Now that we have created the game objects there is one more thing to do. We need to create the level or 'room' in which the game takes place!
From the drop down Resources menu in the main GameMaker window, choose Create Room. This will create a room and open the Room Editor window. On the left you can see some tabbed pages, and here you should select the tab labelled Settings.
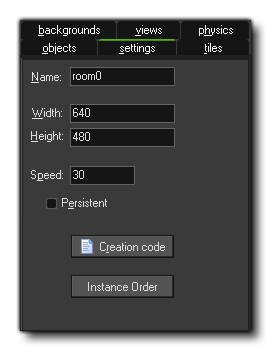
- In the Name field type in "rm_main".
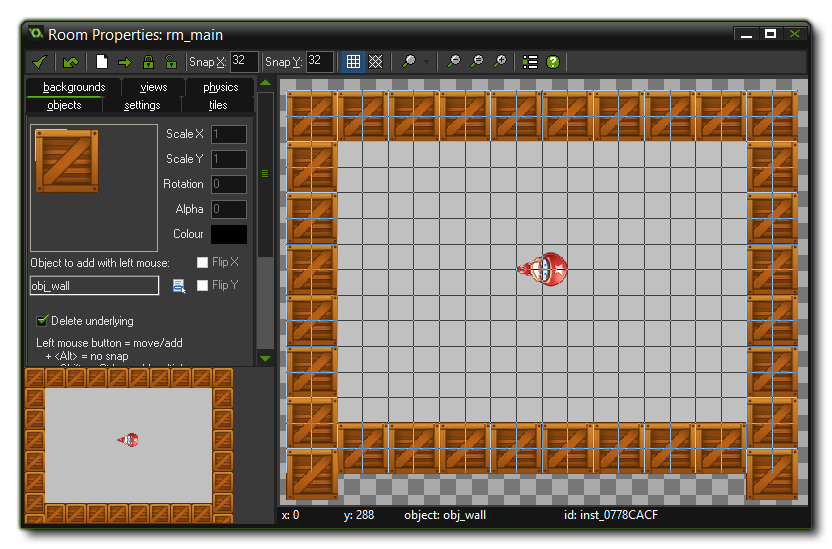
- Select the Objects tab. Make the window bigger, so that you can see the whole room (you can use the mouse wheel to zoom the game room in and out too).
- At the top of the room editor, make sure the value for Snap X and Snap Y is 32, as the size of our sprites is 32x32.
- On the left you can see the selected object. It should be the clown, but if it is not, then click the image and select the "obj_clown" object. Now, place one
instance of it in the room by clicking with the mouse somewhere in the centre of the grey area. If you place more than one by mistake, you can right-click on it and select Delete to remove it again.
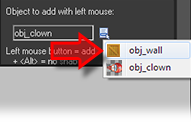
- Click on the icon with the menu symbol next to the field "obj_clown". Here you can also select which object to add, and you should now select "obj_wall".
- Click on the different "cells" bordering the room to put instances there. To speed this up, you can press and hold the <Shift> and <Control> keys on the keyboard and drag the mouse with the mouse
button pressed (it is recommended that the option Delete Underlying is switched on for this so as to avoid placing more than one instance in the same position). As mentioned previously, you can remove
instances using the right mouse button and selecting Delete from the subsequent pop-up menu, or by holding down the <Control> key while right clicking.
When you are happy with the results, you should click on the green tick at the top left of the window to close and save your room.
© Copyright YoYo Games Ltd. 2014 - Updated for KS3, by Mr. Robinson